Until recently, I was a loyal FreeRTOS fan – it’s a simple, lightweight task scheduler without any baggage. Anything extra can get integrated from scratch, or from third-party libraries.
NuttX Real-Time Operating System
However, Reclone will need an RTOS with filesystem, networking, USB host, graphics library, real-time clock, and other bells and whistles, in a more permissive open-source license. Imagine my thrill when I discovered NuttX, which meets practically all of those needs, without a monumental integration effort. I wanted to get started with NuttX quickly, so that we will have something concrete to demo as our product is developed.
However, I quickly realized that the tutorials for building NuttX are scattered, incomplete, and largely out of date (like this one). I wasted many hours of time going down the wrong path, before finally assembling a relatively simple set of instructions that would allow someone to build NuttX on a fresh Ubuntu install. Hopefully these instructions will save others some time and frustration.
The Goal
Build NuttX for a plain STM32F4-Discovery board, using a fresh install of Ubuntu Server 17.04 (32-bit x86). Then, flash the board, and connect to the NuttShell using a USB-to-UART adapter.
I’m using a VirtualBox VM on a Windows 10 host for demonstration purposes. These instructions will probably work on other up-to-date Ubuntu and Debian Linux machines, as well.
The Steps
In the Ubuntu terminal:
- Install the packages required to build the toolchain:
sudo apt-get update
sudo apt-get install build-essential git texinfo libgmp-dev libmpfr-dev libmpc-dev libncurses5-dev bison flex gettext gperf libtool autoconf pkg-config libftdi-dev libusb-1.0-0-dev zlib1g zlib1g-dev python-yaml

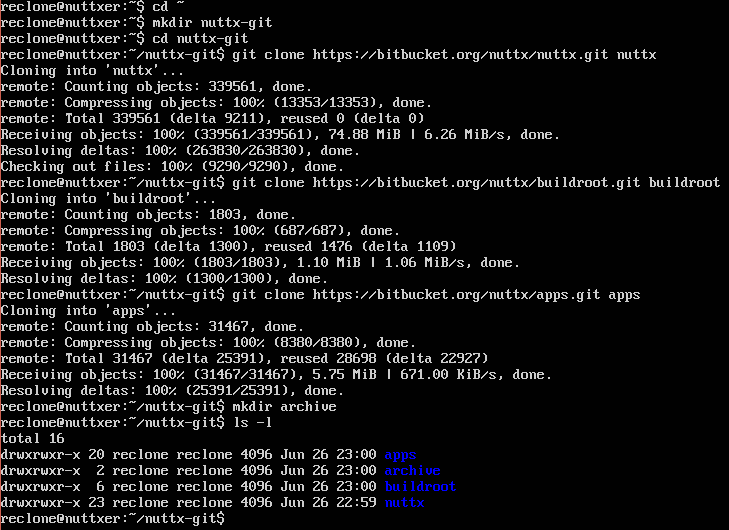
- Set up the directory structure under the current user’s home, and grab the latest NuttX repositories from Bitbucket:
cd ~
mkdir nuttx-git
cd nuttx-git
git clone https://bitbucket.org/nuttx/nuttx.git nuttx
git clone https://bitbucket.org/nuttx/apps.git apps
git clone https://bitbucket.org/nuttx/buildroot.git buildroot
mkdir archive
- Preconfigure NuttX to build for the STM32F4-Discovery board, with NuttShell (NSH) on UART2:
cd nuttx/tools
./configure.sh stm32f4discovery/nsh
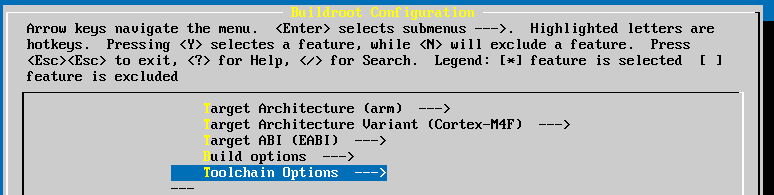
- Configure the toolchain for ARM Cortex-M4F, and launch menuconfig:
cd ~/nuttx-git/buildroot
cp configs/cortexm4f-eabi-defconfig-4.7.4 .config
make menuconfig

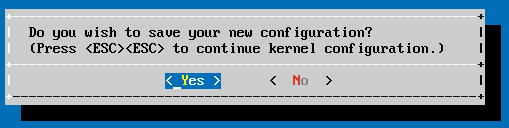
- Change the toolchain options to set the GCC version to 4.9.3 (hint: use arrow keys, Enter, and Esc):

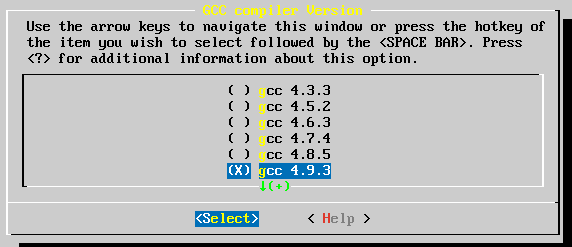

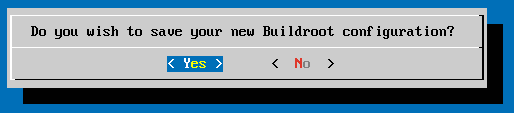
Once the GCC version is set, press Esc until you are asked to save the new configuration. Select “yes” and hit Enter.

- Make the NuttX buildroot. This will download source code and build the specific versions of ARM GCC compiler (arm-nuttx-eabi-gcc) and kernel menu config tool (kconfig-mconf) that should work well with this version of NuttX.
make

This will take a while. Take a shower, drink a cup of coffee, Netflix and chill.
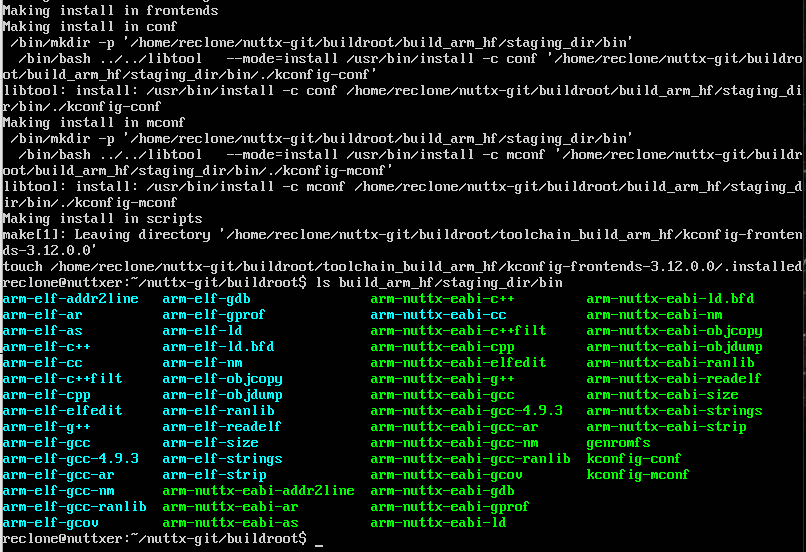
When the build is successful, you’ll be back at a prompt, see some happy install messages (no errors), and arm-nuttx-eabi-gcc and kconfig-mconf have appeared in
~/nuttx-git/buildroot/build_arm_hf/staging_dir/bin:
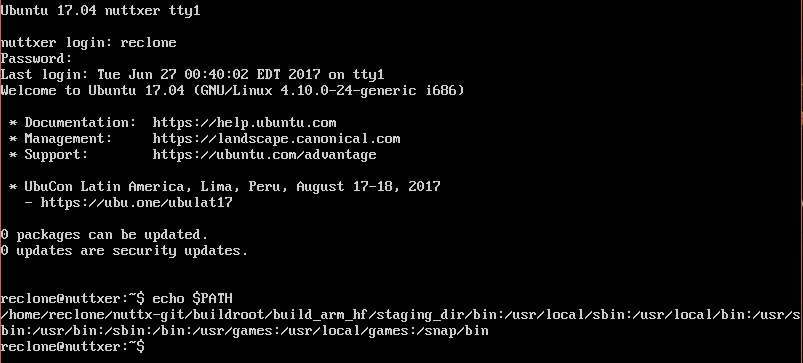
- Add the buildroot bin directory to the PATH for the current user, by editing ~/.profile:
nano ~/.profile
Add this line to the end of the file (leaving a blank line after):
PATH="$HOME/nuttx-git/buildroot/build_arm_hf/staging_dir/bin:$PATH"

When finished editing, hit Ctrl-X, Y, Enter to save changes and exit.
Log out and back in so that the path changes in .profile take effect.
logout
- Configure NuttX.
cd ~/nuttx-git/nuttx
make menuconfig

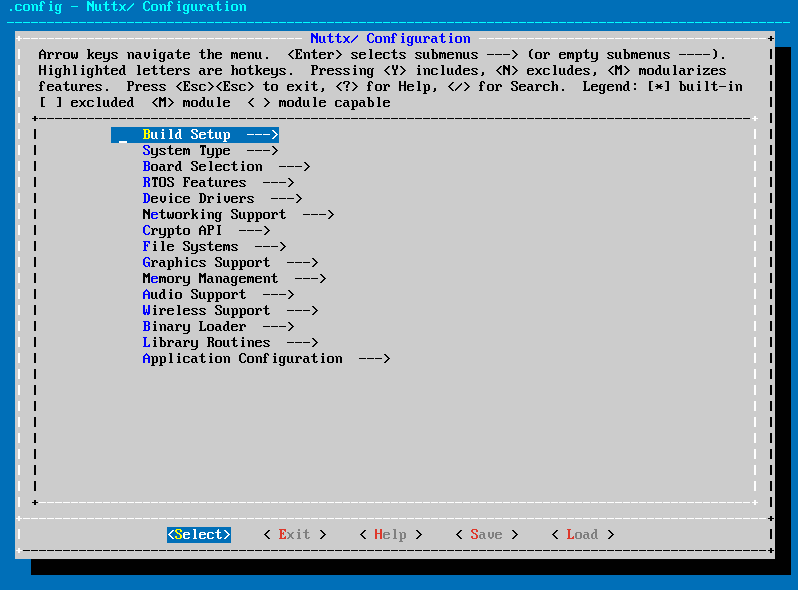
Under Build Setup -> Build Host Platform, select “Linux”. Then, return to the main menu.

Under System Type, enable FPU support, and select the Buildroot toolchain.

Exit the configuration tool, saving changes.
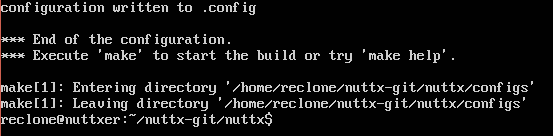
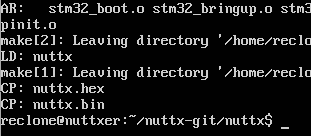
- Build NuttX!
make
This will actually build the NuttX source code, according to the configuration selected earlier. It should only take a few minutes.
When it’s complete, you’ll be back at a prompt, and you’ll see “LD: nuttx” near the bottom of the build output. Success!
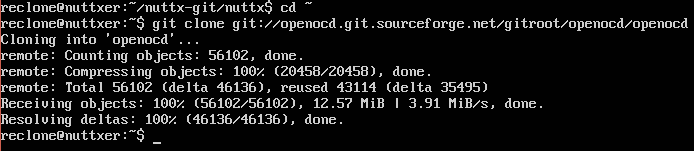
- Build and install OpenOCD
Grab the latest OpenOCD repository:
cd ~
git clone git://openocd.git.sourceforge.net/gitroot/openocd/openocd
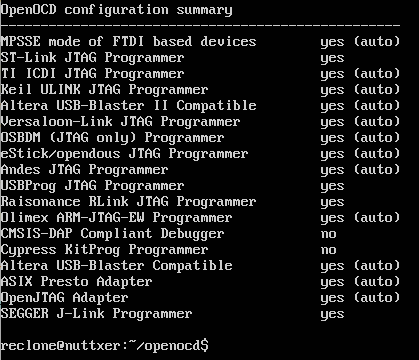
Prepare and configure OpenOCD:
cd openocd
./bootstrap
./configure --enable-maintainer-mode --disable-option-checking --disable-werror --prefix=${PREFIX} --enable-dummy --enable-usb_blaster_libftdi --enable-ep93xx --enable-at91rm9200 --enable-presto_libftdi --enable-usbprog --enable-jlink --enable-vsllink --enable-rlink --enable-stlink --enable-arm-jtag-ew

Build and install OpenOCD:
make
sudo make install
When it’s done, there should be a /bin/openocd :

- Flash the nuttx ELF binary onto your STM32F4-Discovery board.
First, connect the mini-USB ST-Link/v2 port on the Discovery board to a USB port on your Ubuntu machine.
Then, use OpenOCD to program the firmware image. (sudo is required here because lowly Linux users cannot access the ST-Link device by default.)
cd ~/nuttx-git/nuttx
sudo openocd -f interface/stlink-v2.cfg -c "set WORKAREASIZE 0x2000" -f target/stm32f4x.cfg -c "program nuttx verify reset exit"
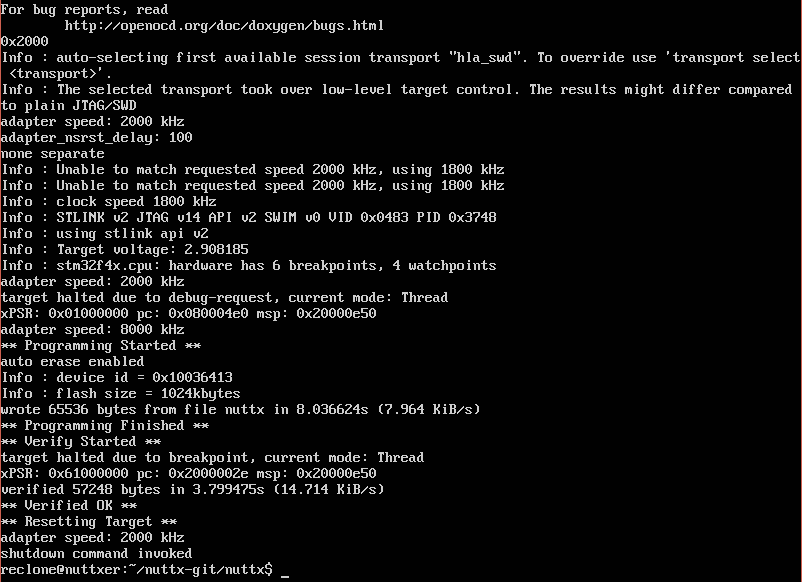
If you see “** Verified OK **”, then the firmware was successfully programmed! - Wire up the serial connection to NuttShell (NSH).
First, connect a USB-to-UART adapter to USART2 on the STM32F4-Discovery board.
(I’m using the Pine64 PADI Serial Console, which currently sells for US$1.99 plus shipping).
Do NOT connect power (+3.3V, +5V, etc.) between the adapter and the Discovery board, as the Discovery is already USB bus powered, and connecting the power pins together could damage one or both devices.USB-UART Adapter STM32F4-Discovery TXD PA3 (USART2 RX) RXD PA2 (USART2 TX) GND GND Then, connect the USB-UART adapter to a USB port on the Ubuntu machine. There should soon appear a ttyUSB device (most likely ttyUSB0):
ls /dev/ttyUSB*

- Test the serial connection to NuttShell (NSH).
Use the “screen” command to establish a basic serial NSH terminal, at the default 115200 bps:
sudo screen /dev/ttyUSB0 115200

This should bring you to a blank screen, with a cursor in the upper-right corner. Pressing “Reset” on the STM32F4-Discovery board should give you the standard NuttShell startup prompt:

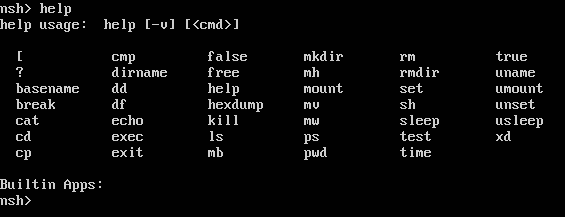
Use the “help” command to list the various commands available to you:
When finished with NuttShell (for now), you can exit the “screen” command by typing
Ctrl-A, Backslash(\), y


In Conclusion
These instructions should be everything you need to establish a toolchain, build NuttX, flash the STM32F4-Discovery, and connect to NuttShell on a modern Ubuntu system.
We haven’t gone much further than to verify that programming was successful and that we can access NSH, but hopefully this can serve as a concise, known-working reference point for others hoping to accomplish similar goals.
Reclone Labs doesn’t use Linux for everything. In future posts, we may present similar instructions on building NuttX in Cygwin, native Windows, or Mac OS.
Let us know your requests, comments, questions, or feedback!


Pingback: More Kconfig Awesomeness For Windows – Reclone Labs
In the current NuttX buildroot, when building ARM gcc 4.9.4 in Ubuntu 18.04, libexpat is also required. (sudo apt-get libexpat-dev)
In Ubuntu 20.04 and the latest NuttX (12/2020) I got the following error with 4.9.4:
./stdio/lib_libvscanf.c:44:18: fatal error: math.h: No such file or directory
This was resolved by going to “make menuconfig” and going to “Library routines” (which is at the top level of the options) and selecting “Standard Math library”
Saving that config and running make again worked great! Thank you for the tutorial!